Provides integration to send build level notifications to CloudAEye to perform RCA(Root Cause Analysis) over test failures.
To install this plugin on your Jenkins server, follow the below steps:
- On Jenkins dashboard click on
Manage Jenkinson left menu. - Under System Configuration select
Plugins. - Click on
Available Pluginsoption in left menu. - Search for
CloudAEyeand click theInstallbutton next to the search box.
- Login to your CloudAEye account (If you do not already have an account, you can create one by signing up here
CloudAEye offers a free tier for individual developers. You can read more about the free-tier here
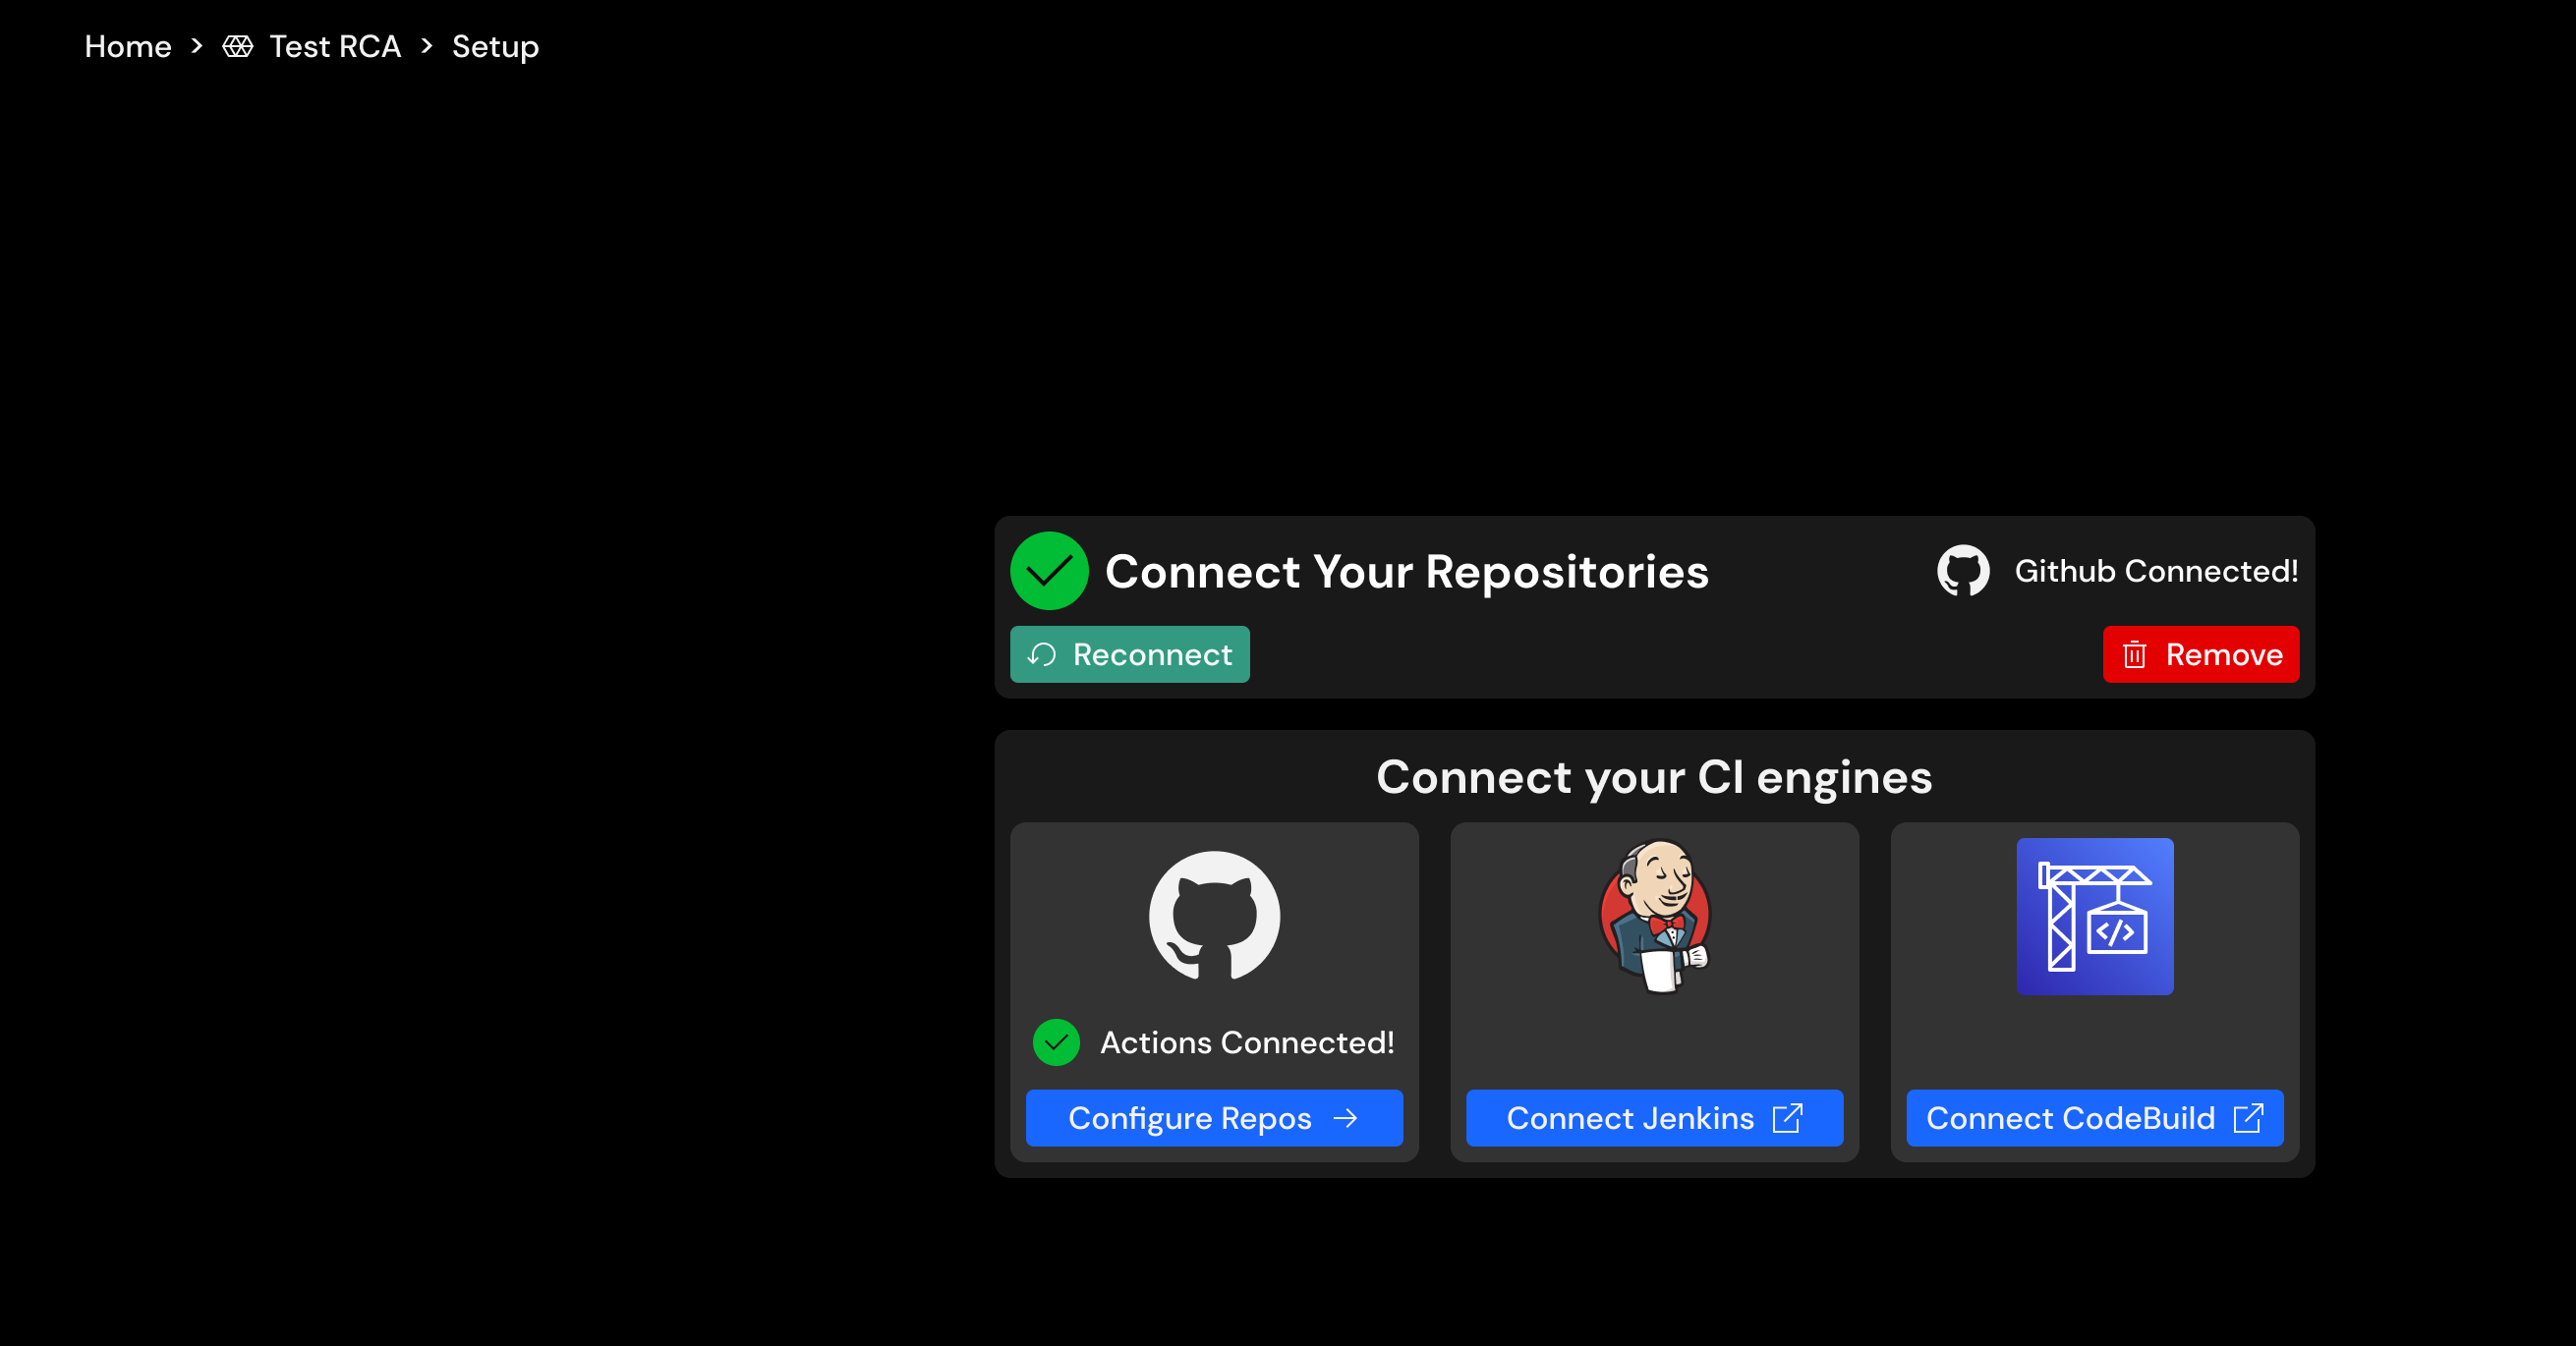
- Navigate to
Home > Test RCA > Setup. - Select
Connect Jenkinsfrom the list of available integrations. - Copy the
Tenant IDandTokenvalues from the step-by-step guide.
- On Jenkins dashboard click on
Manage Jenkinson left menu. - Under System Configuration select
System. - Search for the
CloudAEye Configurationsection - Fill in the
Tenant IDandTokenvalues copied from above steps. - Click
Test Connection.This would ping the CloudAEye's webhook endpoint to test the connection. A success message indicates the plugin is configured successfully.
- On Dashboard, select the required free-style project.
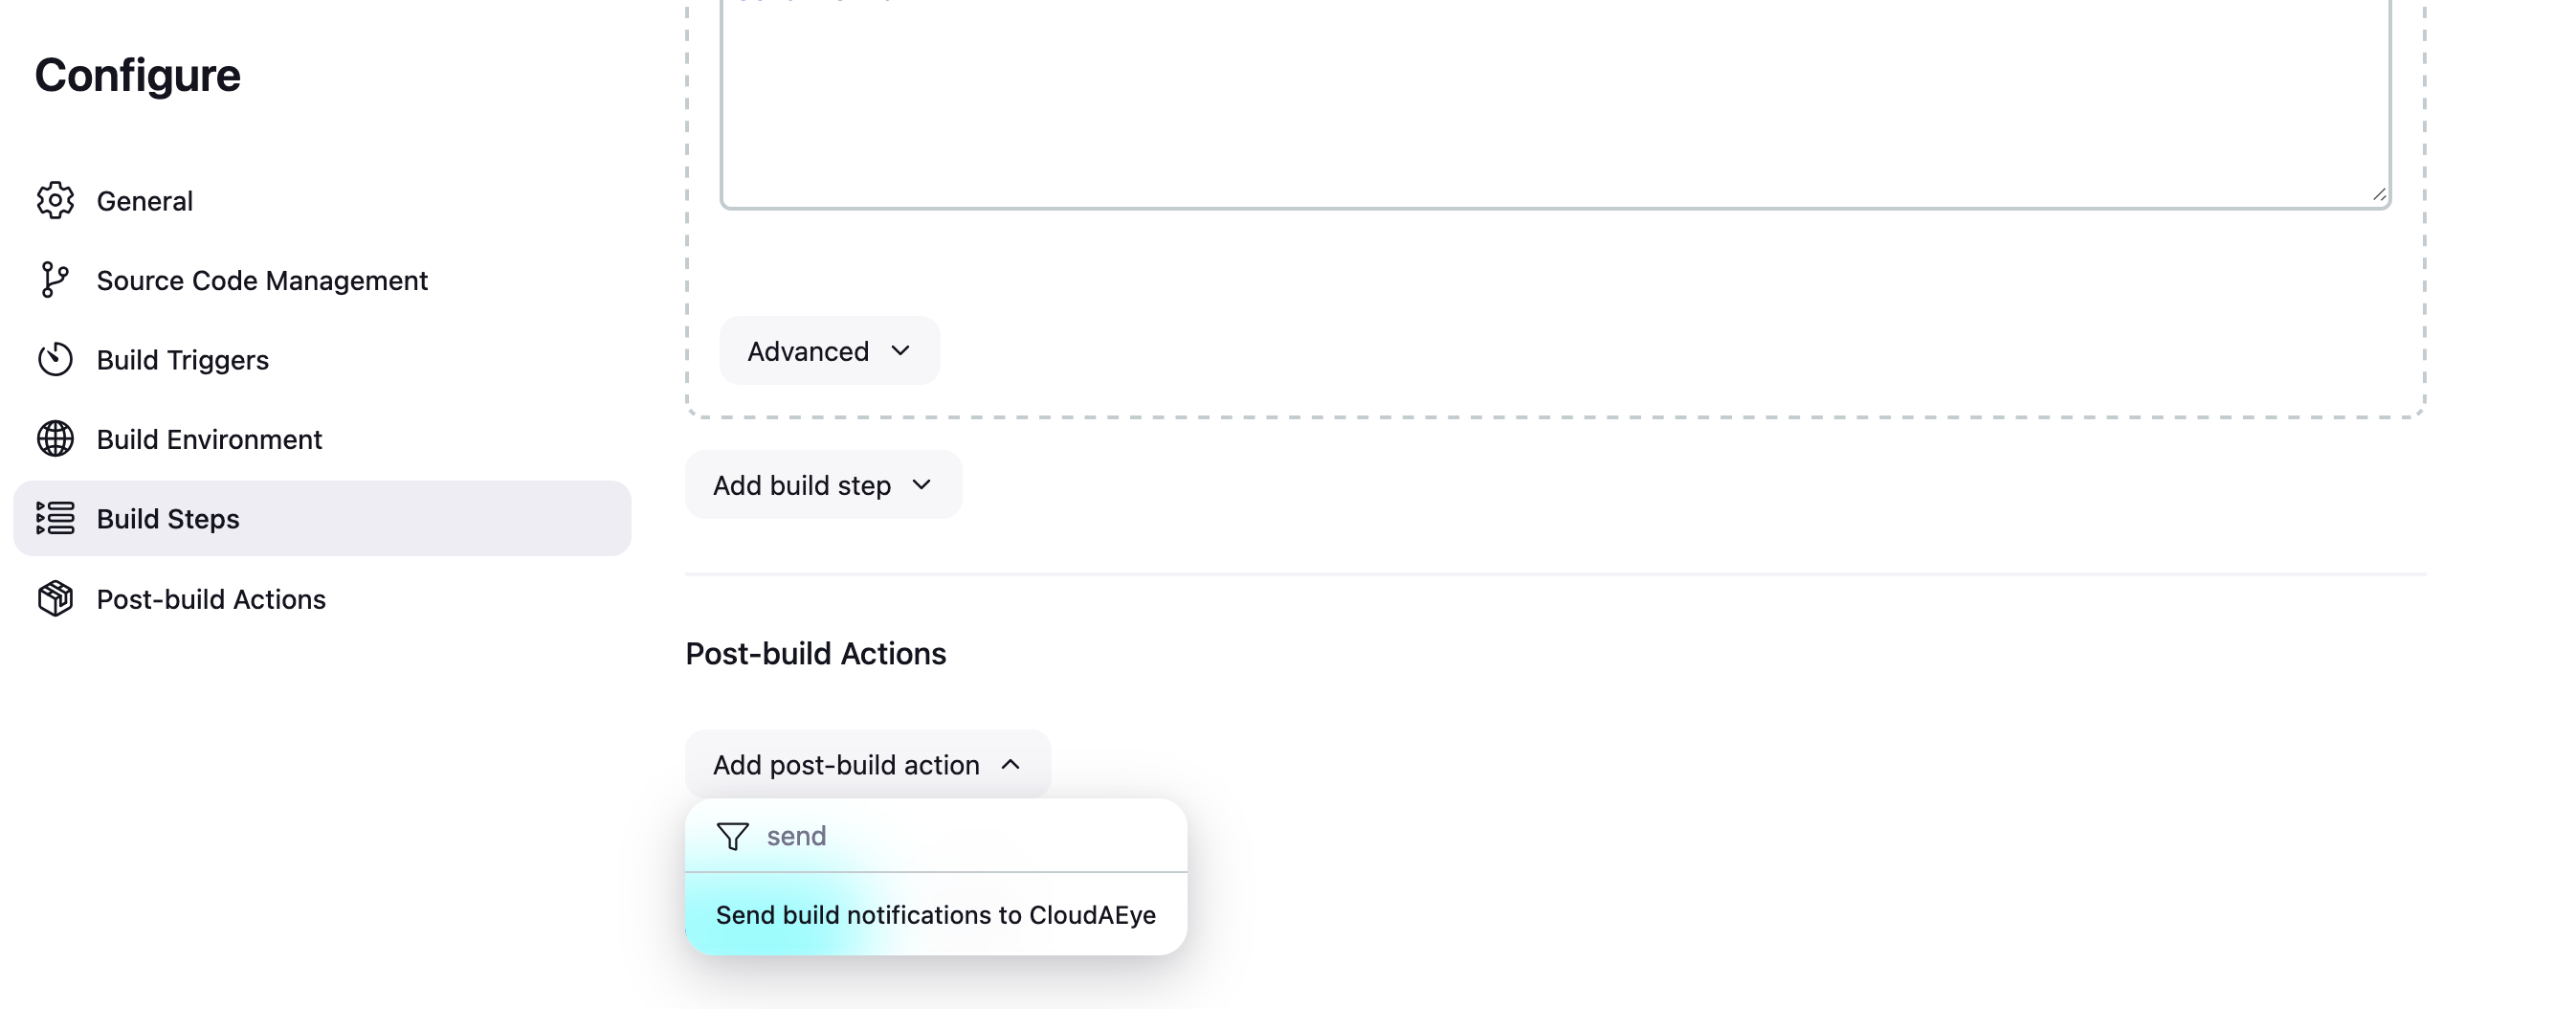
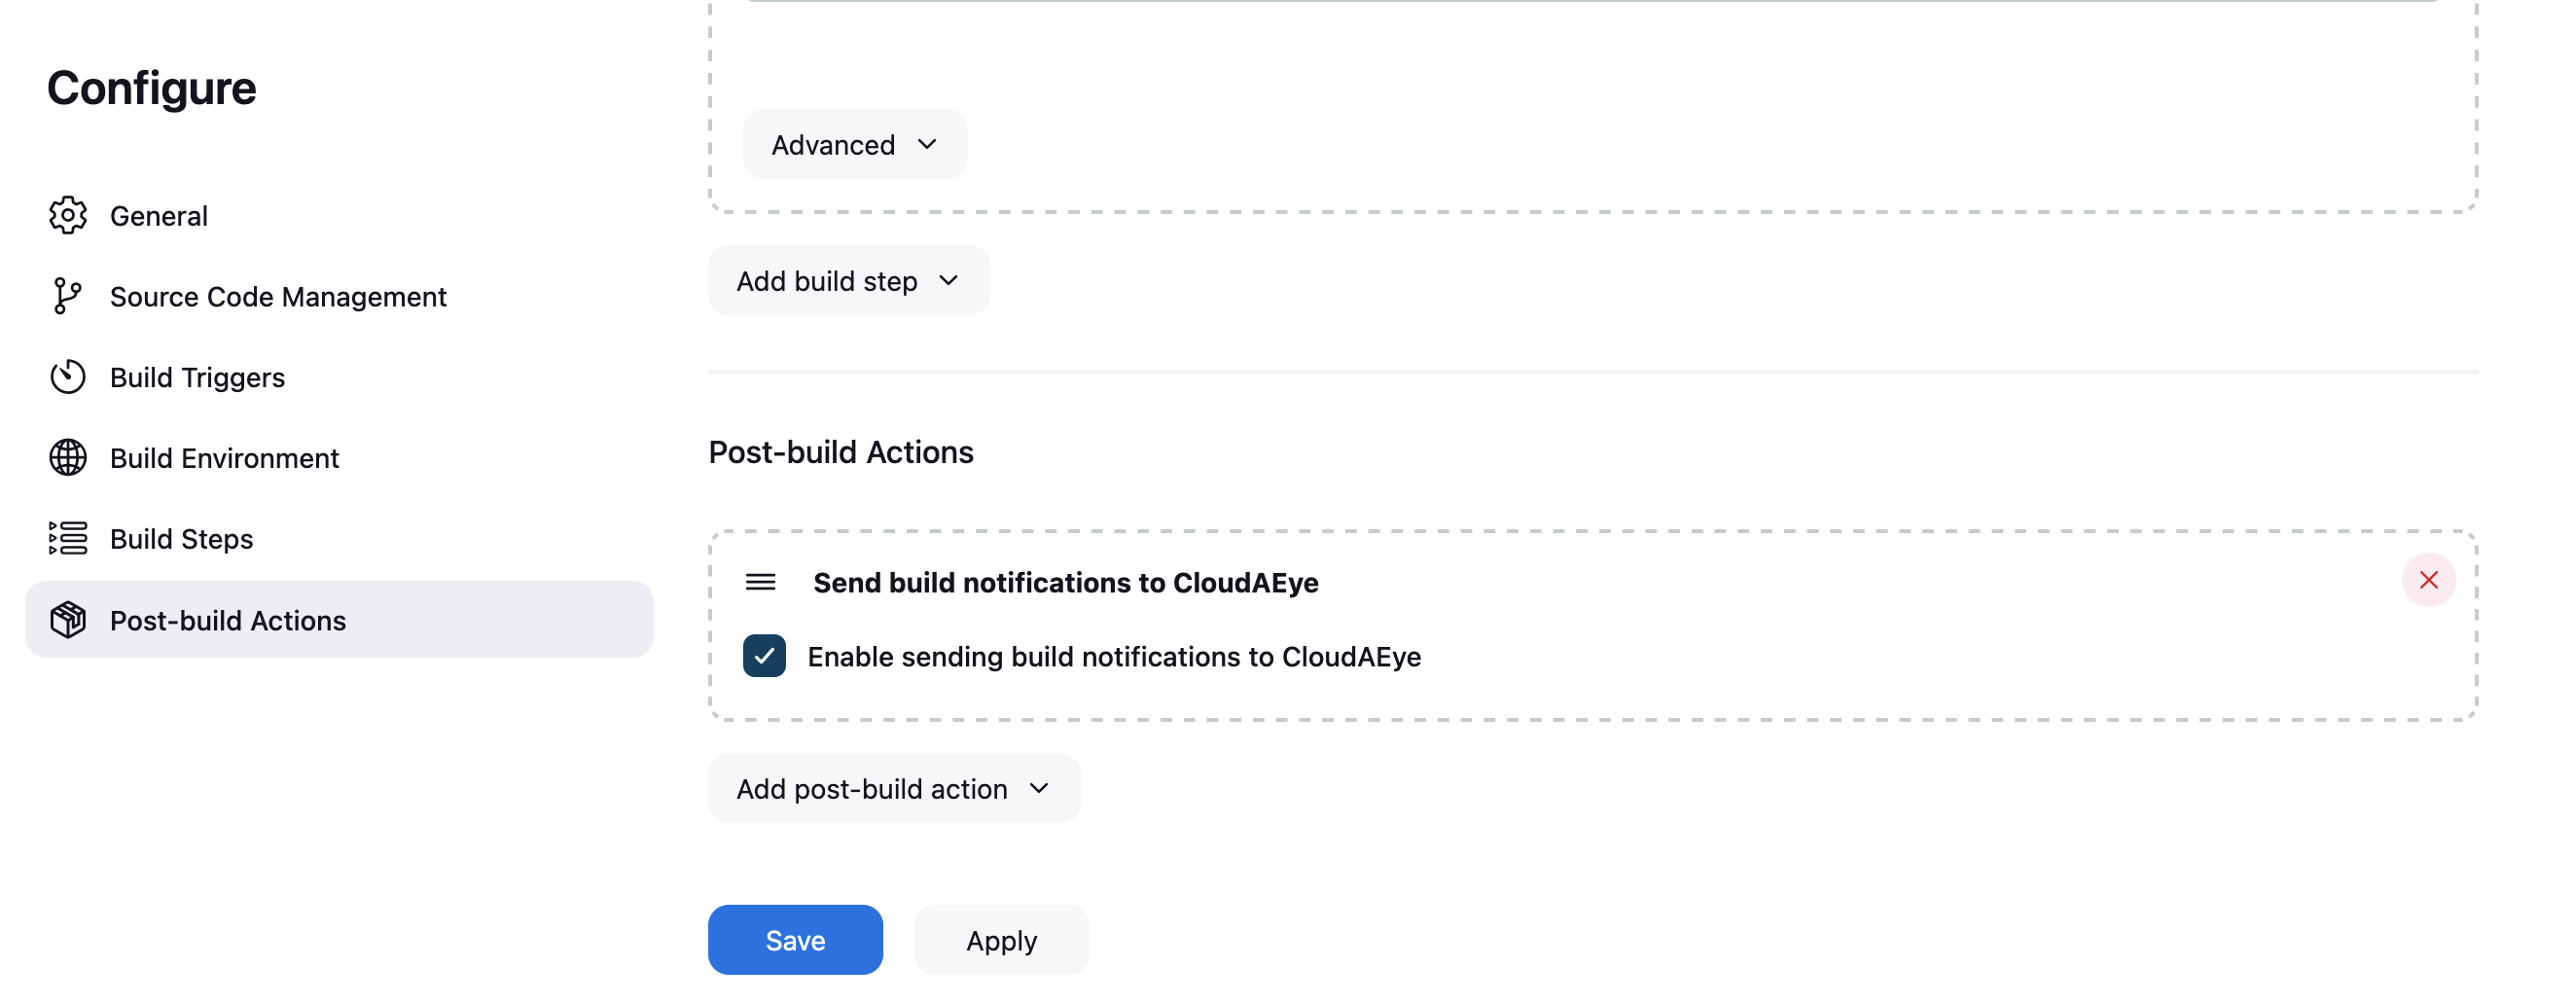
- On the left menu select Configure > Post Build Actions.
- Search for the name
Send build notifications to CloudAEye. - Click check box to
Enable sending build notifications to CloudAEye - Save your changes
- On Dashboard, select the required pipeline project.
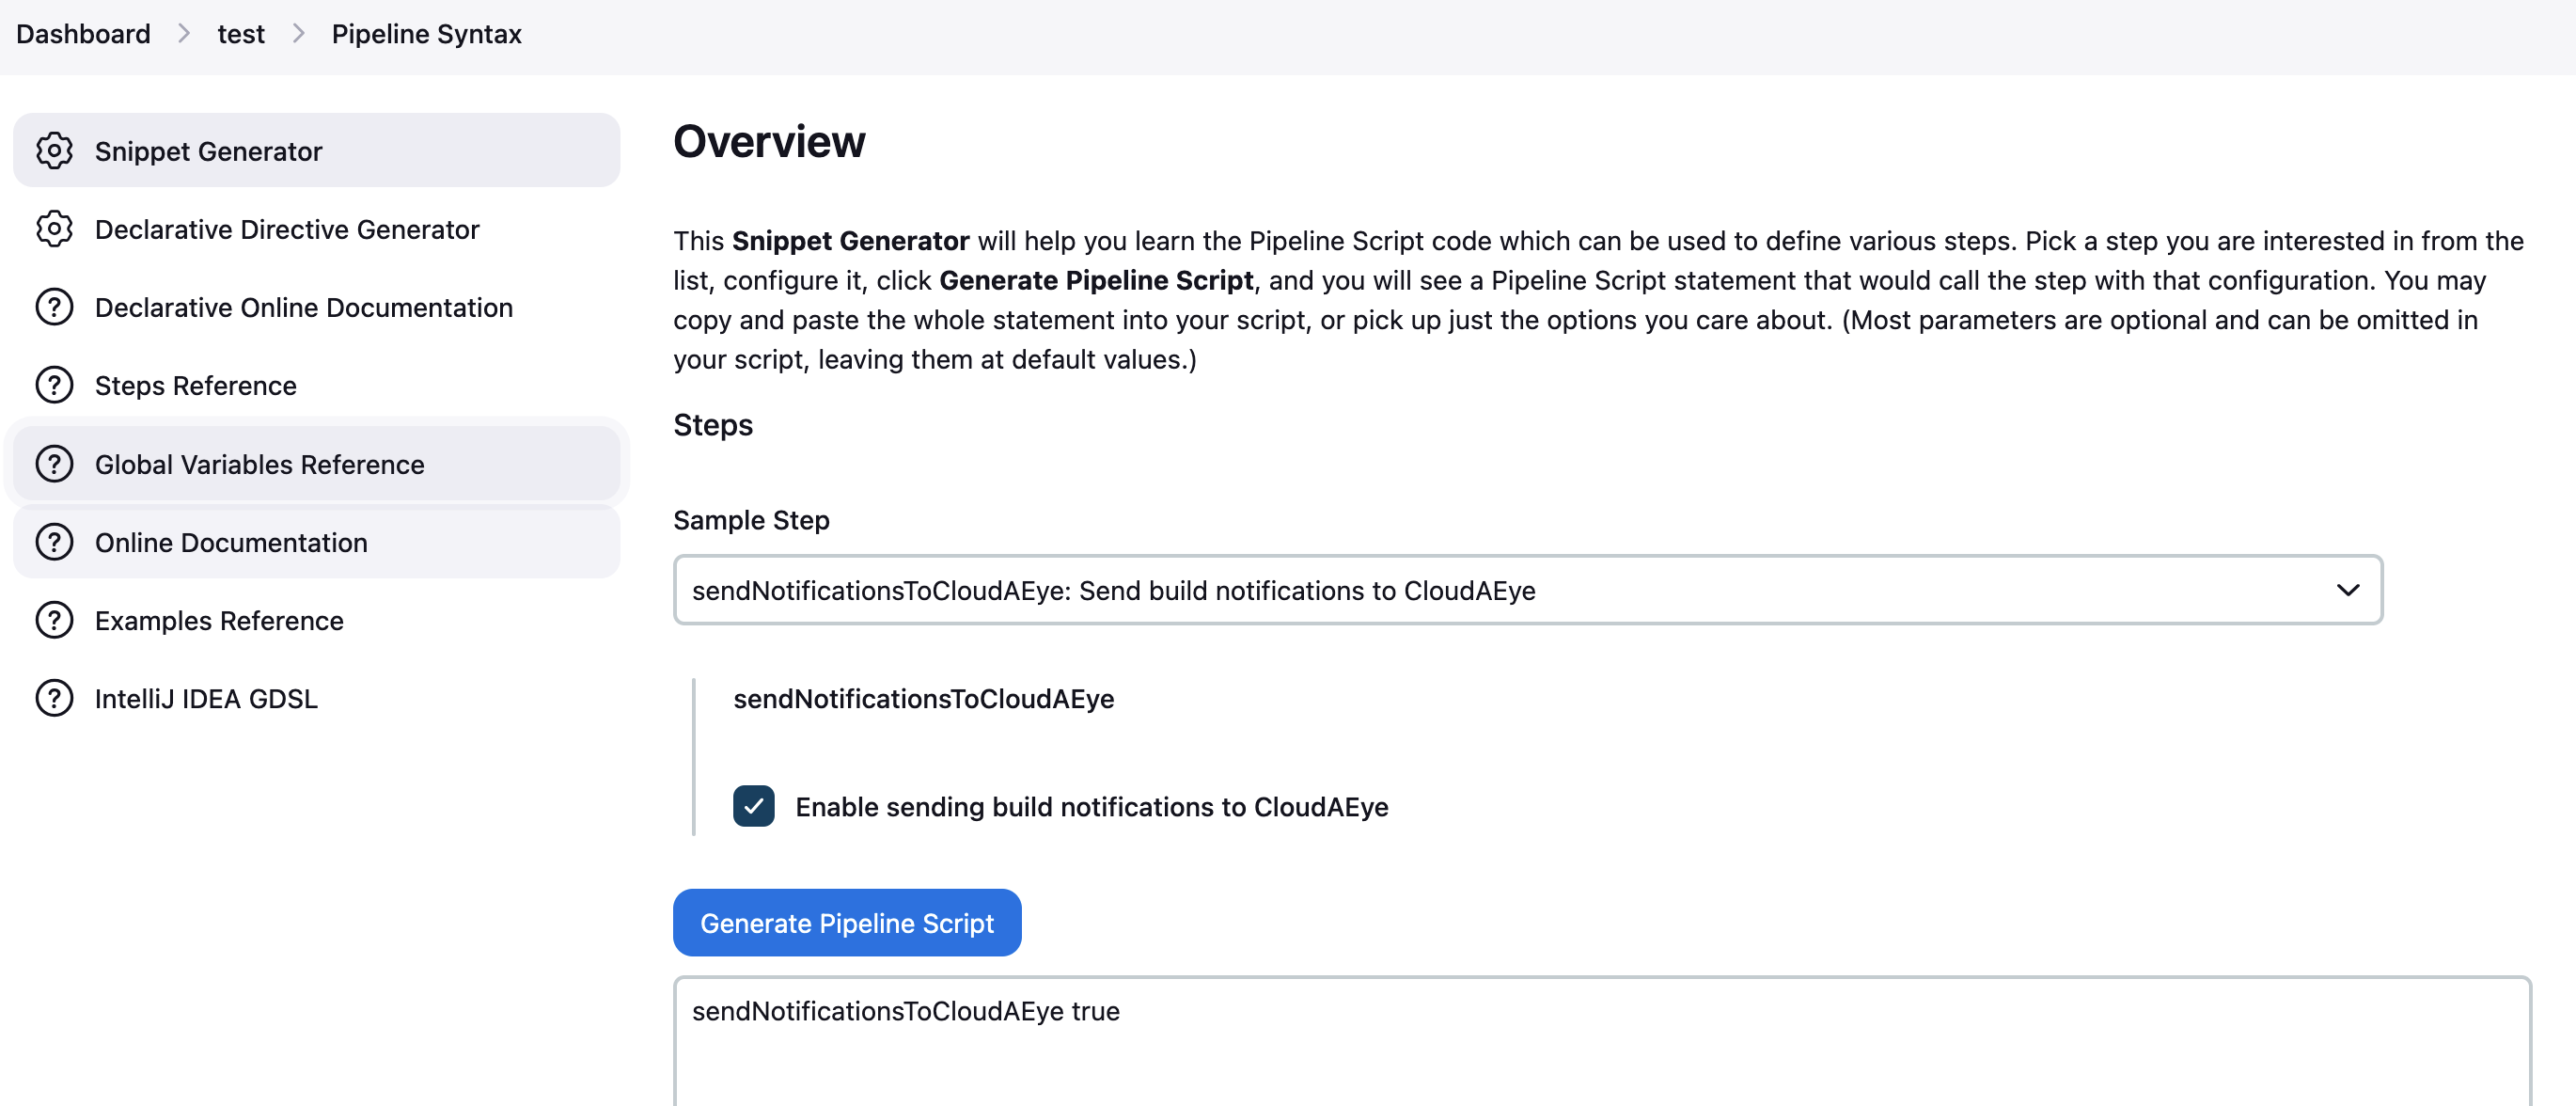
- On left menu select Pipeline Syntax > Snippet Generator
- In the Sample Step drop down, select the option
sendNotificationsToCloudAEye: Send build notifications to CloudAEye - Click check box to
Enable sending build notifications to CloudAEye - Click on
Generate Pipeline Script. - Open the
Jenkinsfilescript file in the corresponding github project repo and copy the snippet generated in step 5 and add it in thepost sectionof the scriptpost { always { sendNotificationsToCloudAEye true } } - Commit and deploy the changes
- Clone this repository on to your local machine
git clone https://github.com/jenkinsci/cloudaeye-plugin
- Install Maven and JDK.
$ mvn -version | grep -v home
Apache Maven 3.3.9 (bb52d8502b132ec0a5a3f4c09453c07478323dc5; 2015-11-10T08:41:47-08:00)
Java version: 1.7.0_79, vendor: Oracle Corporation
Default locale: en_US, platform encoding: UTF-8
OS name: "linux", version: "4.4.0-65-generic", arch: "amd64", family: "unix"
After making changes to the plugin repo, follow the below steps to successfully deploy the changes to Jenkins
-
Always work on a feature branch (DO NOT work and push changes directly from main branch).
-
Run the below command to locally build and test your plugin.
mvn clean package
This creates a HPI file that can be installed on your Jenkins server (HPI file will be in
target/cloudaeye.hpi
- Fix lint issues (if any)
mvn spotless:apply
This is important because Jenkins build fails if there are any lint issues
-
Push the changes and create a PR to the
mainbranch.NOTE: Make sure to apply appropriate labels to the PR that falls into the interesting category actions to automatically trigger a release
-
Once all
github checks pass, merge the PR to deploy the changes to Jenkins


